A reliable 12V RV System starts with one plain answer: size the loads first, keep voltage drop under 3 percent on critical circuits, fuse every conductor for the wire actually installed, and use a control unit you can read in 10 seconds when something acts up.
That sounds boring. Good. Boring is what gets you home.
I’ve built enough small mobile power setups to know the failures are rarely dramatic. They’re stupid little things. A loose ring terminal on a washboard road in eastern Oregon. A pump circuit fused at 20 amps on 14 AWG because somebody copied the appliance manual instead of protecting the wire. A hidden butt splice behind paneling. Then you spend an hour chasing a fault with a headlamp in your teeth.
And one honest thing most articles won’t say: if your RV only does six weekends a year and you hate electrical troubleshooting, don’t build a custom system at all. Buy a simpler factory harness or a known integrated platform and leave it alone. Custom is great when you’ll maintain it. Terrible when you won’t.
What this exact 12V RV System is, and what it is not
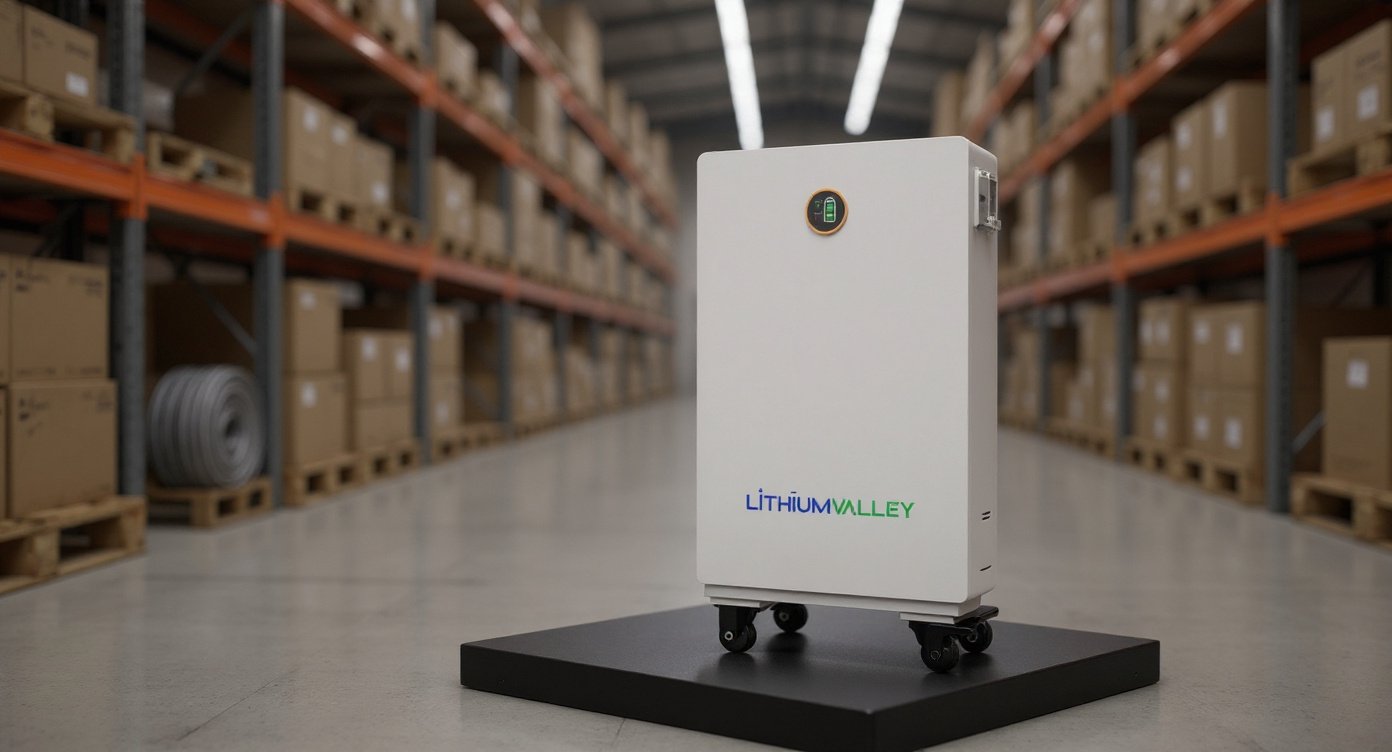
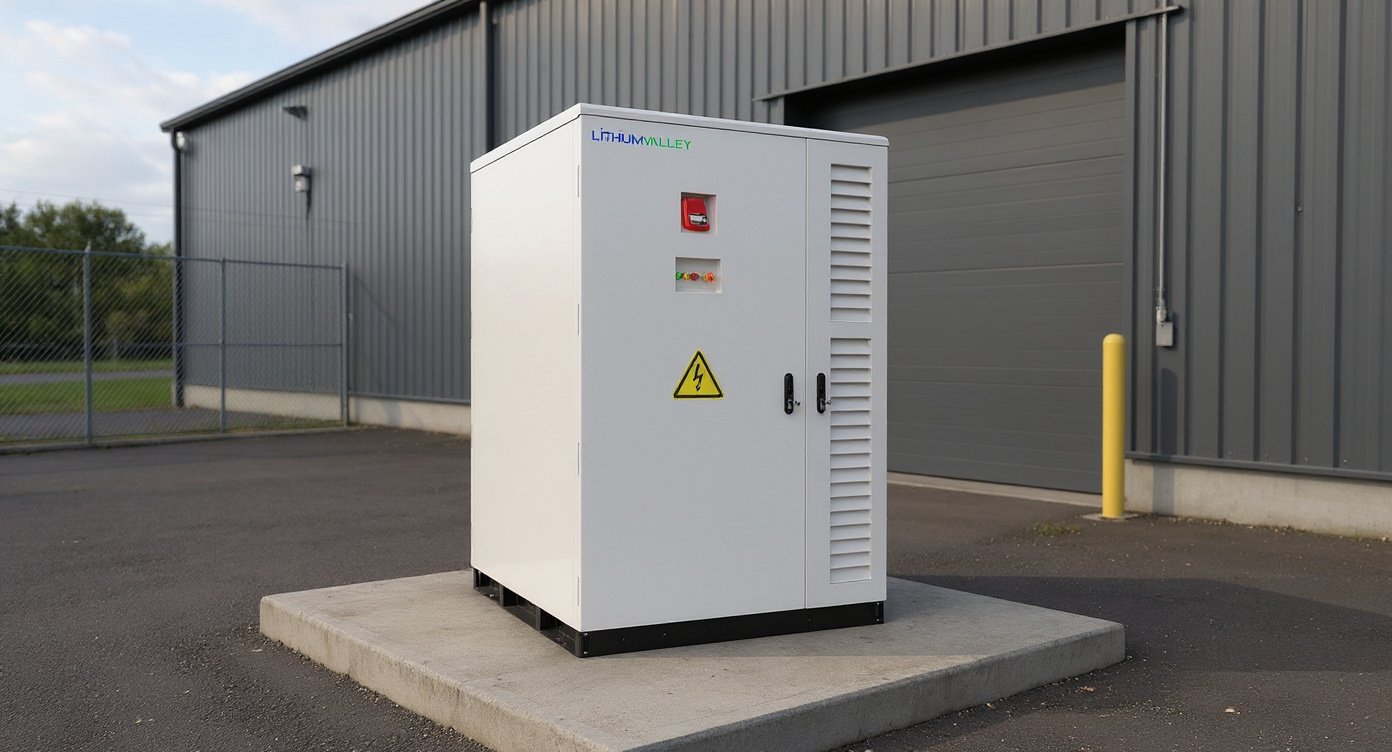
The product here is the exact 12V RV System hardware shown in the official source images, with that same enclosure, the same proportions, the same controls and connectors, the same colors, the same printed labels, and the same component count. Not a generic fuse panel. Not a battery box. Not a catch-all “RV electrical kit.”
That distinction matters because search results for this term get messy fast.
This unit is best understood as a centralized 12V control and monitoring device for an RV or specialty vehicle, the kind of hardware you build around when you want one panel handling visibility, switching, and system status instead of five unrelated modules zip-tied into a cabinet. If you need the exact product reference, it’s the 12V RV System.
My rule after 17 installs: loads first, battery second, gadgets last
I keep a yellow legal pad for first-pass load maps. Old habit.
Before I touch cable, I write down every real load and I force the owner to tell me how long it runs in a day. Not what they hope. What happens in August. What happens in November. What happens when the dog needs ventilation and the diesel heater is cycling all night.
A practical load sheet needs six numbers:
1. Device name
2. Running current in amps or watts
3. Startup surge, if any
4. Daily runtime in hours
5. One-way cable run in feet
6. Whether it’s critical, nice to have, or can shut off first
Here’s a real small-rig example from a Transit build I helped sort out last spring:
| Load | Running draw | Startup / surge | Daily use | Daily amp-hours at 12V | Notes |
|---|---|---|---|---|---|
| Maxxair fan | 2.6A | 3.1A | 10 hr | 26Ah | Medium speed overnight |
| Water pump | 7.5A | 11A | 0.3 hr | 2.3Ah | Short bursts |
| 6 LED lights | 1.8A total | none | 4 hr | 7.2Ah | Warm white puck lights |
| Diesel heater | 1.2A run | 8.5A ignition | 8 hr | 9.6Ah | Startup spikes matter |
| Router + modem | 2.1A | 2.4A | 12 hr | 25.2Ah | Always-on load |
| 12V compressor fridge | 4.5A average while cycling | 9A | 9 hr equivalent | 40.5Ah | Depends on ambient temp |
Total on that rig was about 111Ah per day before charging losses. Not 60Ah. Not “a hundred-ish.” About 111Ah.
That one page changed the whole build. The owner thought a 100Ah battery would be fine. It wasn’t.
The road-proof power path
For a 12V setup that survives vibration, the basic order is simple:
battery, main fuse, disconnect, central distribution, branch fusing, negative bus, then monitoring and control.
That’s it.
People get into trouble when they improvise after step four. A little accessory added here. Another ring terminal there. Then six months later the positive stud looks like a metal sandwich and one loose connection is carrying 38 amps through a washer that was never meant for it.
This exact 12V RV System makes sense when you want one dedicated control point instead of stacking separate switches, status lights, and meter modules. It does not replace sound cable sizing or proper overcurrent protection. Nothing does.
A clean layout, in practice, looks like this:
| Section | What should be there | What I keep seeing | Better move |
|---|---|---|---|
| Battery positive | Main fuse within 7 inches if possible | Fuse 18 to 24 inches away | Put overcurrent protection right near the source |
| Main disconnect | A switch rated for real current | Tiny red key switch in the main line | Use a proper battery disconnect |
| Distribution area | Busbars, branch circuits, labeled outputs | Random taps and hidden splices | One visible service area |
| Ground return | Central negative bus | Chassis grounds all over the rig | One return point, then bond correctly |
| Control and status | One readable panel | Mystery LEDs on separate devices | Put system information in one place |
That “within 7 inches” point comes from ABYC-style best practice used by a lot of mobile installers because it’s sensible in vehicle work too, even when your build isn’t marine. NEC and RVIA guidance matter on the AC side. ABYC thinking often helps on the DC side because it’s strict about overcurrent protection, conductor support, and serviceability. Worth borrowing from people who’ve seen boats burn.
Wire gauge and fuse sizing, with numbers
The fuse protects the wire. Not the fan. Not the fridge. The wire.
If a branch circuit draws 15A and the cable run is 18 feet one-way, 36 feet round trip, 14 AWG may carry the current on paper but the voltage drop can get ugly in a 12V system. At 15A over that length, you’re often better off at 10 AWG if you want to stay under a 3 percent drop for a sensitive load.
Concrete example.
A water pump drawing 7.5A on a 10-foot one-way run has 20 feet round trip. On 14 AWG, voltage drop lands in a range many pumps tolerate. On 16 AWG, I’ve seen enough hot connectors and lazy starts that I won’t do it. Save $9 on wire, spend $140 on headaches.
A few workable field targets:
– Keep voltage drop under 3 percent for critical electronics, fridges, communication gear, and control circuits
– Keep it under 10 percent only for non-critical loads where performance loss won’t matter much
– Fuse branch circuits at 125 percent to 150 percent of expected continuous load only after confirming the wire can support that fuse value
– Use tinned copper in damp compartments if you can justify the cost
– Support cable every 18 inches or better in vibration zones
This won’t work if your run lengths are guesses. Measure the route. The route, not the straight-line distance.
I learned that one the expensive way on an old teardrop trailer. Thought a fan run was 8 feet. Routed it cleanly, then measured 13 feet one-way after chasing cabinets and ribs. Different wire size. Different fuse. Small mistake. Big ripple.
What fails after 500 miles, not on day one
Bench tests are kind. Roads are not.
The failures I see after a trip tend to be mechanical:
– poor crimps from hardware-store pliers
– unsupported cable hanging on a breaker stud
– ring terminals stacked four deep
– grounds landed on painted steel
– heat around converters with no air space
– branch additions made later with no fuse review
– no labels, so nobody knows what they’re turning off
A labeled system matters more than people think. I print heat-shrink labels on both ends of every branch and I still use a laminated paper map in the cabinet. Looks fussy. Saves time.
One owner texted me from Moab because his lights dimmed every time the vent fan hit high speed. He was sure the battery was bad. It wasn’t. The negative return for two branch circuits had loosened at the busbar and was dropping enough voltage under combined load to make the whole cabin act haunted. Ten-minute fix once found. Two hours to find because the original installer hadn’t labeled anything.
Classic.

Comparisons people actually ask for
A lot of buyers aren’t choosing between “system” and “no system.” They’re comparing organized control hardware against pieced-together parts or against known brands.
Here’s the honest version.
| Option | Typical street price | What you get | Where it falls short |
|---|---|---|---|
| This exact 12V RV System | price varies by seller and configuration | Centralized 12V control and monitoring in the exact pictured hardware | You still need proper wiring design around it |
| Victron Cerbo GX + Touch 50 | about $579 for Cerbo + $239 for Touch 50 | Excellent monitoring ecosystem, strong data visibility | Not a simple all-in-one switch/control panel, adds ecosystem cost |
| REDARC Manager30 | about $1,649 | DC-DC charging, solar regulation, battery management in one respected unit | Expensive, and not the same control interface category |
| Renogy battery monitor + fuse block + switch panel stack | often $210 to $380 total | Cheap, available, workable for budget builds | Feels pieced together because it is |
| WFCO or factory RV control panel setups | often bundled, replacement boards $120 to $450 | Easy for OEM-style replacement | Limited flexibility, spotty diagnostics |
| Blue Sea Systems separate components | varies, often $300 to $700 for a decent stack | Rugged distribution hardware | You still need separate monitoring and switching |
If you love data and remote integration, Victron is tough to beat. If you want one cohesive install and fewer little boxes, a dedicated panel-style control unit has real appeal. Trade-offs. Always.
Starlink, inverters, and the conversion tax
People underestimate conversion losses because each piece only wastes a little. Stack three pieces, leave them on all day, and it adds up.
For Starlink, a common setup is 12V battery to inverter to factory AC power supply to dish. It works. It’s also not elegant. Depending on the inverter and supply, you can burn 10 to 20 percent in conversion and idle losses before weather even enters the picture.
A direct DC path is often better if the exact dish model and converter match. If they don’t, don’t improvise with a random barrel connector from Amazon. I’ve seen melted plugs. Real ones.
Same story with laptops, routers, and camera chargers. Fewer conversions. Less heat. Better battery life.
The U.S. Department of Energy has broader battery system guidance that’s aimed more at vehicles than RV interiors, but the core lesson still holds: system design and monitoring matter as much as raw capacity, here. Maintenance guidance also keeps circling back to connection quality and thermal management, here.
Shore power from home, without doing something dumb
Yes, you can plug many RVs into home power. Sometimes.
A standard 15A household receptacle gives you at most 1,800 watts in perfect conditions, and you shouldn’t plan to live at the edge of that. On a long extension cord with summer heat, I tell people to think closer to 1,200 to 1,500 watts continuous unless they know the circuit, wire size, and receptacle condition.
Battery charger drawing 700 watts? Fine.
Air conditioner pulling 1,500 watts plus startup surge on a shared garage circuit? Maybe not. Add a microwave and you’re done.
Use a proper adapter. Check grounding. Feel the plug after 20 minutes under load. Warm is one thing. Hot enough that you don’t want to hold it is your warning.
Stop there.
Pre-wiring a camper van if you’re starting with a power station
This part traps people.
A power station makes the van feel simple because it has outlets on the front. The van is not simple. Fixed loads still need fixed wiring if you want the rig to feel sane six months from now.
Pre-wire these even if you start with a portable unit:
– ceiling lights
– vent fan
– water pump
– USB outlets
– router or comms device
– future solar path
– future DC-DC charger path
– battery monitor shunt location
Bring them all to one service area. Leave extra length. Label both ends. If there’s even a 30 percent chance you’ll move to a hardwired battery bank, this saves you from opening finished walls later.
This is also where a true centralized control product earns its keep, because you can migrate those branch circuits into one tidy service zone instead of living with extension leads forever. If you need the exact hardware reference again, the original product page is here: 12V RV System.
A short install checklist I actually use
Before first power-up:
– confirm every positive conductor has overcurrent protection sized for that wire
– torque terminal hardware to manufacturer spec, not “good and tight”
– tug-test every crimp
– verify polarity at each branch
– confirm disconnect works under no-load condition
– label branch circuits and spare positions
– check charger and converter ventilation clearances
– measure battery voltage at source and at key loads under test current
– create a one-page system map and leave it in the rig
Unsexy. Effective.
FAQ
How to install a 12 volt outlet in RV?
Run a dedicated positive from a fused distribution point and a dedicated negative back to a negative bus or approved return point. For a 15A outlet on a 12-foot one-way run, I’d usually start by checking 12 AWG, then confirm voltage drop and fuse size. Put the fuse upstream, close to the source.
How to wire up a 12V system?
Start with a load sheet, then total both daily amp-hours and peak simultaneous current. After that, lay out battery, main fuse, disconnect, distribution, branch protection, and return path. Choose wire from current, route length, and voltage-drop target. Then add monitoring and control.
Can you hook an RV up to your home’s electrical system?
Yes, if the home circuit is in good condition and sized for the load you’re placing on it. A 15A household circuit is fine for light charging and small AC loads, but not for running every appliance at once. If the adapter or cord gets hot, stop and reduce load.
How do I install a 12V system?
By planning before buying parts. Map the loads, choose realistic battery capacity, place the main fuse near the battery, add a proper disconnect, centralize distribution, and test under load before finishing walls. The system should be serviceable without dismantling cabinetry.
Best way to power Starlink off 12V in an RV? Too many conversions?
Yes, too many conversions waste real energy. Best practice is the fewest safe conversions that match the exact Starlink hardware version. If you can run a stable direct DC conversion matched to the dish requirements, that usually beats leaving an inverter on all day.
12v kill switch
Use a battery disconnect rated for the highest current the system can actually see. If your inverter can pull 150A and surge higher, a tiny accessory switch has no business in that circuit. Put the disconnect where you can reach it fast.
How do you pre-wire a camper van when using a power station?
Wire the van as if you’ll one day install a fixed DC system. Run dedicated circuits for lights, fan, pump, and communications to one central service area. Leave service loops and label both ends. Future you will be grateful.
Opinions/experience with 12v A/C?
It can work, but the math has to work first. A unit drawing 55A for 8 hours uses about 440Ah before conversion losses and reserve margin. That’s not a casual battery bank. If your charging plan is vague, skip 12V A/C.
What wire size should I use for a 12V fridge in an RV?
For a compressor fridge drawing 5A to 8A, I usually check 12 AWG first, then confirm based on route length and startup behavior. On longer runs, 10 AWG often makes the fridge happier because voltage sag during startup drops. Don’t guess.
What voltage is too low for a 12V RV system?
Depends on battery chemistry and device sensitivity, but many 12V electronics start acting strange well before a battery protection cutoff. On lead-acid, seeing 12.1V at rest already tells you the battery is getting down there. Under load, sag matters more than a single number.
Do I need a shunt battery monitor if I already have a voltage display?
Usually yes. Voltage alone is a rough clue. A shunt-based monitor tells you current flow and consumed amp-hours, which is far more useful when troubleshooting. Voltage displays make people feel informed. Shunts actually inform them.
Is chassis ground enough for branch circuits?
Sometimes for certain OEM automotive circuits, yes. For custom RV house systems, I prefer dedicated negative returns to a central bus whenever practical. It cuts down on corrosion mysteries and weird intermittent faults.
Final thought
The best 12V builds aren’t the ones with the most components. They’re the ones where every wire has a reason, every fuse matches the conductor, and every fault can be traced without tearing the coach apart.
Simple. Visible. Serviceable.
If that’s the direction you’re building in, start with the exact hardware you mean to use, the exact loads you plan to carry, and a layout you’ll still understand two years from now. If you’re handling lithium storage, bookmark the EPA guidance on used lithium-ion batteries now, not when a swollen old pack is sitting in your garage.