12V RV System Datasheet: Specs, Limits, Wiring

A 12V RV system datasheet should show battery support, current limits, compatible loads, communications, and install rules for your vehicle before you buy.

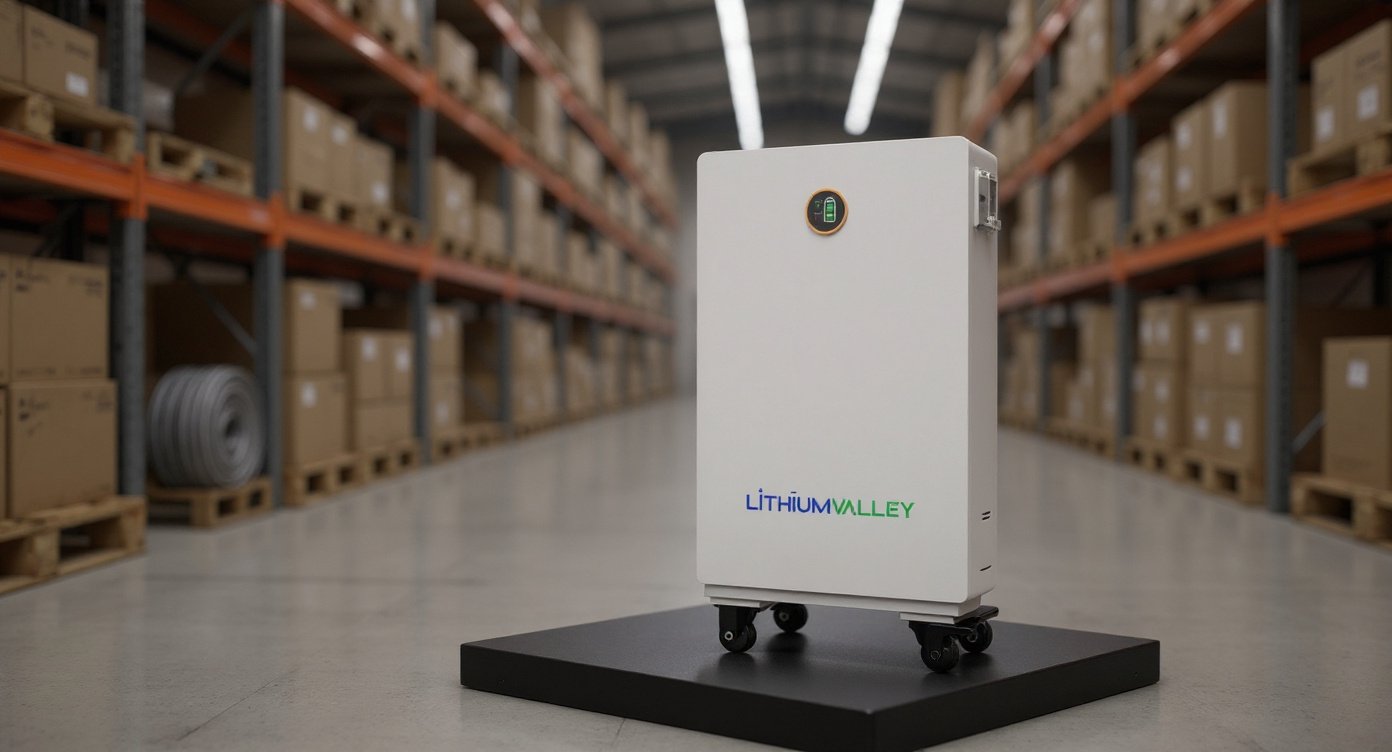
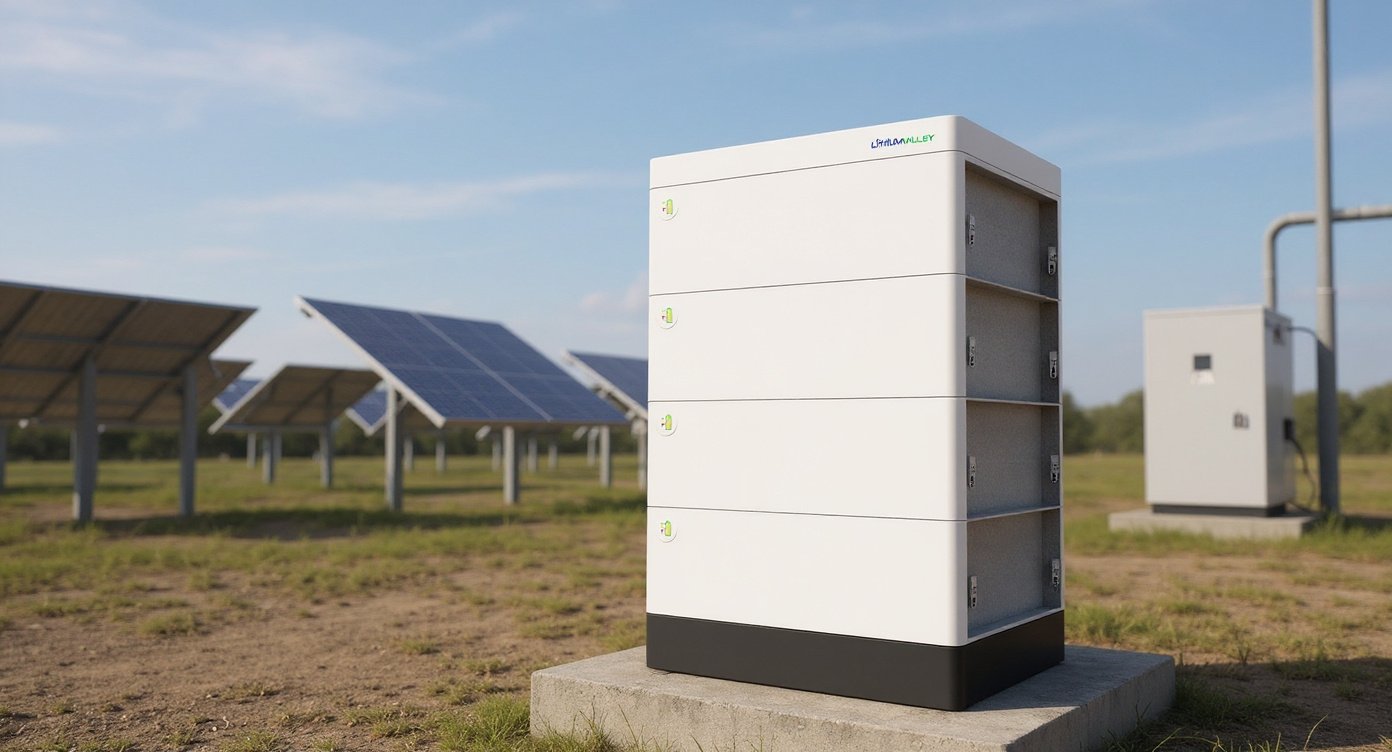
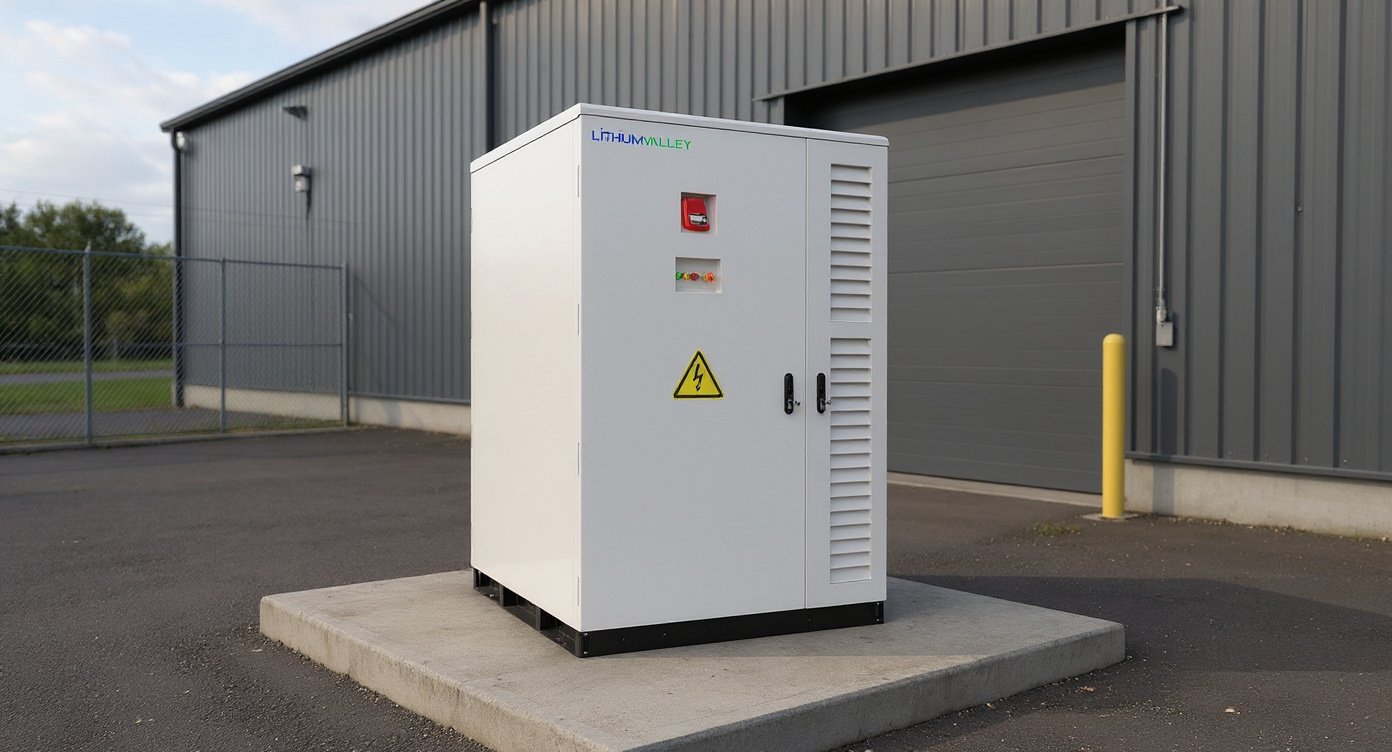
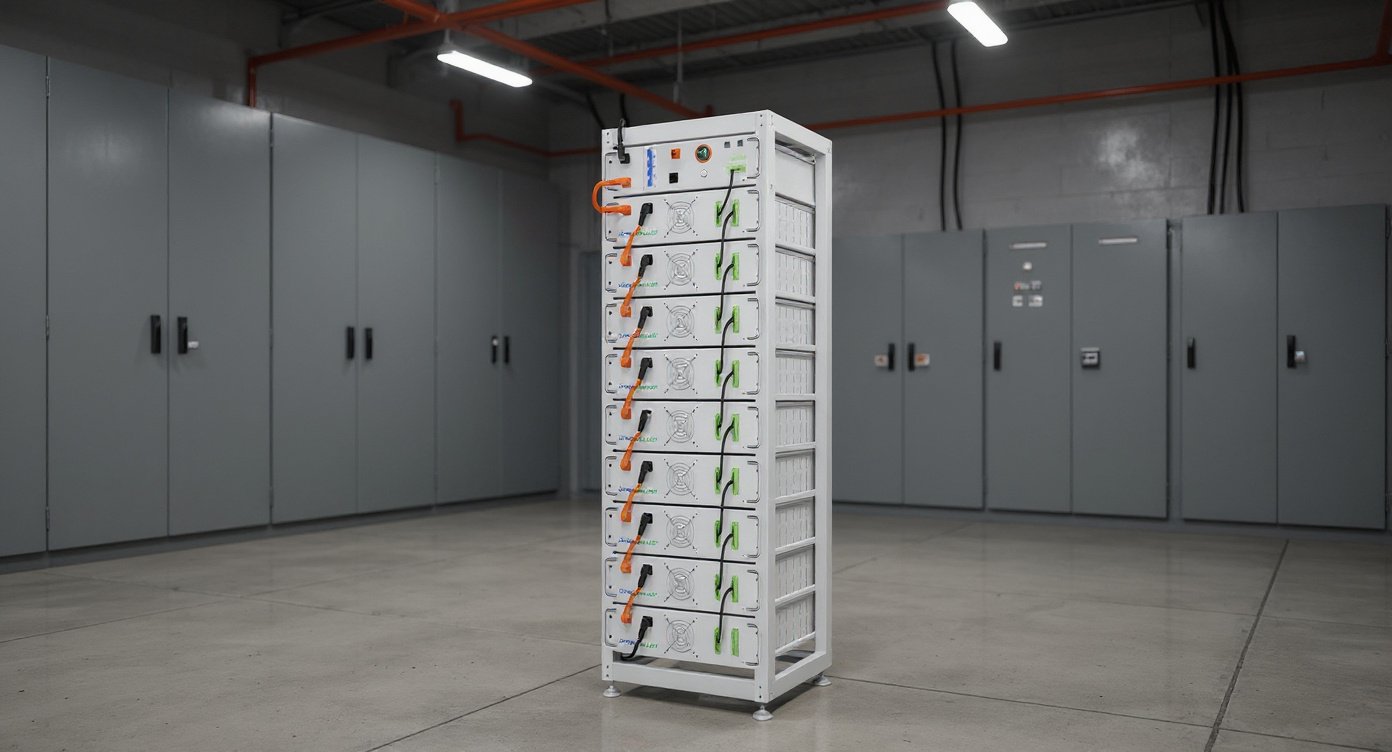
The exact 12V RV System shown in the official source images is the product here, enclosure, proportions, connectors, labels, controls, and component count included. I’m not treating it like a generic “smart panel.” That shortcut is how people end up buying the wrong box.

This unit is meant for RVs, engineering vehicles, and specialty vehicles, with status monitoring, alarms, lighting, and load control. Good. That’s the job. But a control box is only useful if the seller gives you the numbers that matter. Battery chemistry. Current ceiling. Fuse rules. Wire size. Service access. If those are missing, the pretty front panel does not help much.

At a glance

Checkpoint What the buyer needs to see What the public listing shows
System voltage 12V DC 12V RV System
Primary use RV, specialty vehicle, engineering vehicle Yes
Functions Status monitoring, alarms, lighting, load control Yes
Battery chemistry support LiFePO4, AGM, lead-acid, or a defined subset Not stated
Battery capacity range Example, 100Ah to 600Ah, or whatever the design supports Not stated
Max current / load limit Main feed and branch limits in amps Not stated
Comms / interface CAN, RS485, discrete inputs, or similar Not stated
Fuse / wire guidance Fuse size, cable gauge, and run length limits Not stated

That last column is the problem. Not because the product is bad. Because the paperwork is thin.

I’ve seen a lot of RV electrical gear fail in the same boring way. The hardware was fine. The install was not. One customer brought me a panel after a month on the road, and the issue turned out to be a 40A branch feed run on cable that should have been used for a lamp, not a compressor. It worked for three weekends. Then it didn’t. A little heat, a little voltage drop, and suddenly the “smart” part of the system was just chasing its tail.

Still missing.

What the datasheet needs to prove first

1. Battery type. Tell me if the system expects LiFePO4, AGM, flooded lead-acid, or all three. Don’t make me guess from a marketing sentence.
2. Current limit. Give the main feed rating and the branch ratings in amps. “High current” is not a number.
3. Load list. Show what it can actually switch, monitor, or alarm, not just “accessories.”
4. Interface. If it talks over CAN, RS485, UART, or simple switched inputs, say that. A buried bus spec matters more than a shiny display.
5. Service rules. State fuse placement, disconnect points, and whether the enclosure can be opened without pulling the whole coach dark.
6. Mounting and enclosure fit. The source images show the exact hardware shape, but the install sheet still needs hole spacing, depth, and connector clearance.

This is the stuff that saves money. Not a slogan.

Energy storage cabinet in an engineering showroom

The comparison I’d want on the bench

Product Typical street price Best at Trade-off
12V RV System Listing price varies Integrated RV status, alarms, lighting, load control Specs not publicly stated, so you need the install sheet first
Victron Cerbo GX + GX Touch 50 about $444 combined Deep monitoring, strong ecosystem Switching and load control need extra hardware
Redarc Manager30 about $1,895 Charging, monitoring, multi-stage control Big price jump, and it is a larger system to fit
Victron SmartShunt about $129 Clean battery current monitoring No load switching, just data
Blue Sea ST Blade fuse block about $58 Simple branch protection Dumb by design, which is often a good thing

Honest take. If you only want reliable branch protection and you don’t care about a display, a Blue Sea setup can beat a “smart” panel on day one and day 1,200. If you want a real dashboard, Victron is hard to beat. If you want one enclosure to handle more of the coach logic, the 12V RV System is trying to live in that middle space.

Wiring rules that keep a 12V coach out of trouble

A 12V system punishes sloppy math. Voltage drop is the quiet problem. The wire looks fine, the lights still turn on, and then the fridge starts acting tired because it’s not getting what the label promised.

For reference, a 3% drop on a 12V system is just 0.36V. That sounds tiny. It isn’t. On a long run, it can be the difference between a healthy pump and one that chatters.

A practical install checklist

1. List the real loads first. Fridge, pump, fans, lighting, heater controls, inverter standby draw. Write the amps down.
2. Measure the full cable path. One-way distance is not the whole story. Use round-trip length for voltage drop math.
3. Pick the fuse from the wire. Not from the appliance wish list. The wire gets protected first.
4. Keep control wiring apart from power wiring. Cross when you must, run parallel only when the layout forces it.
5. Label both ends. I have spent too many hours tracing a black wire that should have been marked from day one.
6. Test voltage at the far end. 12.6V at the battery means nothing if you only have 11.8V at the fridge.
7. Record the numbers. Fuse size, wire gauge, battery chemistry, charger profile, date installed. Future-you will be grateful.

For common branch circuits, a few real-world numbers help. A 10 AWG copper run is a normal choice for about 30A on short distances. 8 AWG is where people often land for 40A to 50A. 4 AWG starts showing up for inverter feeders, depending on run length and allowable drop. That won’t fit every coach. But it beats guessing.

I wired a small toy hauler once where the owner insisted the cable “looked thick enough.” It wasn’t. The converter was fine, the batteries were fine, and the problem was 14 feet of undersized copper hiding behind nice paneling. We fixed it in one afternoon. He lost a weekend. That was the cheap version.

Honestly, if you live in a humid coastal area and park outside, skip any setup with weak connector sealing or a bare-metal control face. I’ve replaced enough green, corroded panels on Gulf Coast rigs to be suspicious on sight. Pretty plastic does not beat salt air.

This won’t work if the enclosure has no strain relief. It won’t work if the branches are oversized. It won’t work if the seller refuses to publish the fuse table.

Scalable energy storage installation

Compatibility: charger, inverter, fridge, lighting

This is where the install gets real.

A charger has to match battery chemistry. A LiFePO4 bank does not want the same charge profile as flooded lead-acid. A decent charger, whether it is from Victron, Renogy, Redarc, or a built-in RV power module, should make that profile obvious in the manual. If the 12V RV System is going to sit at the center of the coach, the battery rules need to be written down before anyone crimps a lug.

For inverters, start with the biggest AC load you run at once, then add startup surge. A microwave that says 1,000W on the sticker may ask for more at startup. A compressor fridge is the same story, just quieter about it. If the battery bank is small, a huge inverter is not a flex. It is a way to drain the bank faster.

Lighting and alarms are usually the easy part. Pumps and compressors are the part that expose weak cable and poor fuse choices. That is why I want branch-by-branch current limits, not a vague promise that the system can “manage loads.”

I’d want to know three things before buying:

1. What is the largest continuous load the system can switch? Put the number in amps.
2. What is the start surge it can survive? Pumps and compressors matter here.
3. What happens when the battery hits low voltage? Does it shed noncritical loads first, or does it drop everything at once?

If the answer is fuzzy, keep shopping.

Safety and maintenance

A good 12V setup should make service simple. Easy access to the main disconnect. Clear labels. A fuse block that doesn’t require a detective. If the battery is lithium, the maintenance rules from the battery maker matter more than the panel brand.

For background on battery types and service, the U.S. Department of Energy’s AFDC has a solid overview of electric vehicle batteries and battery types. The chemistry lesson carries over to RV work. Different cells, different charging behavior, different cutoff points.

And when a lithium-ion battery reaches end of life, don’t toss it in mixed waste. The EPA’s guidance on used lithium-ion batteries is worth reading before you haul dead packs to a scrap yard.

One more thing. Check the cable before you blame the battery. Low-voltage alarms come from bad crimps, undersized wire, weak grounds, bad charger settings, and tired cells. Half the time, the battery is not the first problem.

Modular energy storage installation

Questions people ask before they buy or wire a 12V coach

What size wire do I need for a 12V RV?
It depends on current, round-trip length, and allowed voltage drop. For short branch runs, 10 AWG can make sense near 30A. For 40A to 50A, 8 AWG is common. For inverter feeds, 4 AWG or larger comes up fast.

How many amps does a 12V RV refrigerator pull?
Most compressor fridges have a modest running draw, but startup and duty cycle matter more than the nameplate. Check the manual. The average can be 2A to 6A, but that’s only useful if you know the cycle and voltage.

How do you wire a 12V system?
Start at the battery bank, protect the main feed, map each branch, confirm polarity with a meter, then test voltage at the far end. If the system has alarm or lighting controls, wire those to the install diagram, not to memory.

What are the color codes for 12 volt RV wiring?
There is no single RV-only code that every builder follows. Red is often positive and black is often negative, but I’d trust the schematic and a meter before I trust color.

What size inverter should I get for an RV?
Size it to the largest AC load you plan to run at once, plus surge. A 1,000W inverter is fine for some laptops and small appliances. It is not fine for every microwave. Bigger is not better if the battery bank can’t feed it.

What RV inverters are yall using?
Victron MultiPlus units are common when people want a clean ecosystem. Renogy and Go Power! show up in budget builds. The right pick depends on the load list, not the logo.

How do you know if a lithium battery charger is compatible?
Check chemistry, voltage, charging profile, and any communication input the battery expects. If the charger cannot follow the battery maker’s settings, it is not a match.

Should I trust the monitor more than the battery gauge?
Trust the whole system. A monitor helps, but voltage, current, cabling, charger settings, and battery age all have to line up before the reading means much.

Is the 12V RV System enough by itself, or do I still need extra fuse blocks?
If the seller does not publish branch counts and current limits, assume you may still need separate protection. A single enclosure sounds neat. Real coaches usually need some extra pieces.

Can I use this on a vintage RV conversion?
Yes, if the wiring, grounding, and space fit the enclosure. Old rigs often need new cable runs and a cleaner return path. The box is not the hard part. The hidden wiring is.

What I’d buy if I wanted fewer surprises

If I were setting up a coach from scratch, I would not buy a control system until I had the load list, battery chemistry, current limits, and fuse plan in writing. That is the difference between a tidy install and a repair schedule.

The 12V RV System makes sense when you want a single piece of hardware for monitoring, alarms, lighting, and load control, and you are willing to verify the electrical details before the first wire goes in. If that is your job, start at the product page for the exact hardware shown in the source images, 12V RV System, then compare the published install specs against your battery bank and loads.

I’d do the same homework before I bought any other controller, even a Victron or Redarc unit. Nice gear still needs honest numbers.

FAQPage schema

More Posts

Send Us A Message

Scroll to Top